How to Make Bias Binding The other night I found I had time to make up a dress pattern I bought recently. Having a look through the instructions in preparation I noticed the pattern needed bias binding. My heart sank I did not have any bias binding let alone in the right colour. I wanted a really […]
Add To CartHow to Make Bias Binding
00How to Make Bias Binding The other night I found I had time to make up a dress pattern I bought recently. Having a look through the instructions in preparation I noticed the pattern needed bias binding. My heart sank I did not have any bias binding let alone in the right colour. I wanted a really good match to the fabric colour and no time to try and find some. Not being one to be defeated by a problem like this, and liking a challenge, I thought no problem I will make my own. At this point I should mention that this is my second go at dressmaking and I am new to sewing so had no idea what is actually involved in making bias binding. Having trawled through many videos and tutorials on the internet I felt prepared to have a go. The chances are next time I need to make bias binding I will have forgotten how to so here is my quick guide to making your own bias binding. The dress is now finished and I am really pleased with the finish I got by using the same fabric as the dress. Bias binding is cut on the bias. This means it is cut at a 45 degree angle across the grain of the fabric. Cutting across the grain of the fabric makes the fabric stretchy. If you are using the bias to make a facing for a neckline the stretchiness will mean that you can bend the binding around the curve of the neckline. The first stage is to cut a rectangle of your fabric. Then fold one corner upwards making a triangle of fabric on top of the rectangle. The longer end of the triangle is the 45 degree line. Cut along this line. Using this cut edge you need to make strips of material cut parallel to this line. My strips were 1 inches wide. There are two ways to cut the strips. If you have a rotary cutter and quilting rulers use this but if not draw lines on the fabric parallel to the cut edge and use scissors to cut them. You will end up with several strips that have pointed edges. Cut off the edges to make rectangles. Put two rectangles of fabric together as per the picture. Make sure the right sides of...
How to Make Bias Binding
The other night I found I had time to make up a dress pattern I bought recently. Having a look through the instructions in preparation I noticed the pattern needed bias binding. My heart sank I did not have any bias binding let alone in the right colour. I wanted a really good match to the fabric colour and no time to try and find some. Not being one to be defeated by a problem like this, and liking a challenge, I thought no problem I will make my own. At this point I should mention that this is my second go at dressmaking and I am new to sewing so had no idea what is actually involved in making bias binding.
Having trawled through many videos and tutorials on the internet I felt prepared to have a go. The chances are next time I need to make bias binding I will have forgotten how to so here is my quick guide to making your own bias binding. The dress is now finished and I am really pleased with the finish I got by using the same fabric as the dress.
Bias binding is cut on the bias. This means it is cut at a 45 degree angle across the grain of the fabric. Cutting across the grain of the fabric makes the fabric stretchy. If you are using the bias to make a facing for a neckline the stretchiness will mean that you can bend the binding around the curve of the neckline.
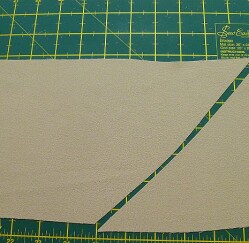
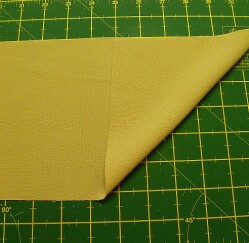
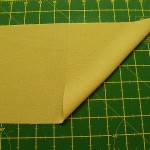
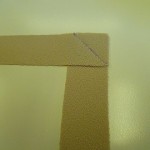
The first stage is to cut a rectangle of your fabric. Then fold one corner upwards making a triangle of fabric on top of the rectangle.
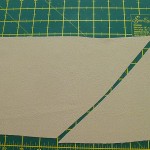
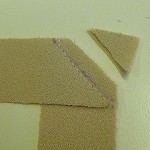
The longer end of the triangle is the 45 degree line. Cut along this line.
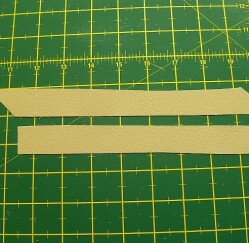
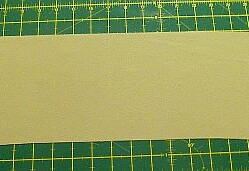
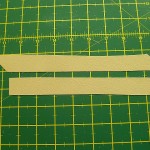
Using this cut edge you need to make strips of material cut parallel to this line. My strips were 1 inches wide. There are two ways to cut the strips. If you have a rotary cutter and quilting rulers use this but if not draw lines on the fabric parallel to the cut edge and use scissors to cut them. You will end up with several strips that have pointed edges. Cut off the edges to make rectangles.
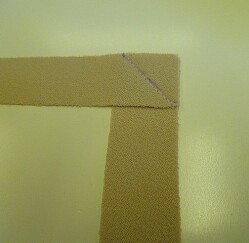
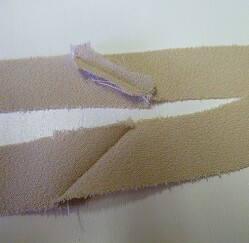
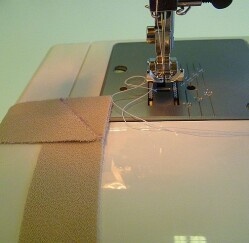
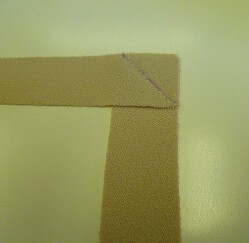
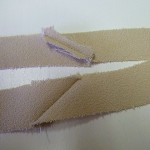
Put two rectangles of fabric together as per the picture. Make sure the right sides of the fabric are together. Then sew from one corner of the join to the other. It is essential that you sew from corner to corner along the line shown in the picture. It will not work if you use the other corners.
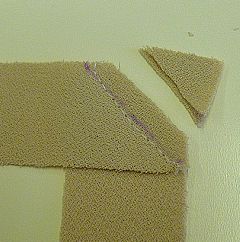
Trim the excess material off the seam and press the seam open.
Repeat this for each rectangle ending up with a long strip. The photo shows both sides of a join.
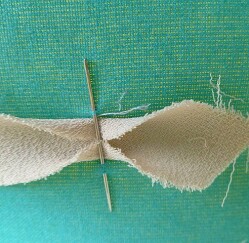
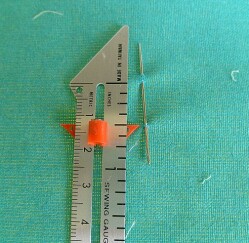
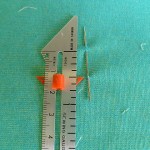
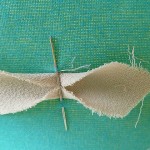
On your ironing board insert a needle as shown in the picture. The amount of the needle above the ironing board should be half of the width of your strips. For my binding this is 1/2 inch.
Feed the end of the strip through the needle. Make sure the right side of the fabric is against the ironing board. If you have trouble feeding the end through the needle try cutting the fabric end to a point.
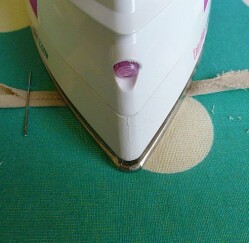
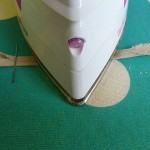
Keep pulling the strip under the needle and the edges will come together forming the shape of the bias binding. Place your iron so that the strip passes through the needle and then the iron. Pull the strip through to the end. Keep an eye on the strip to make sure each side is folding over evenly to the middle of the strip.
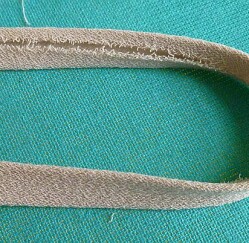
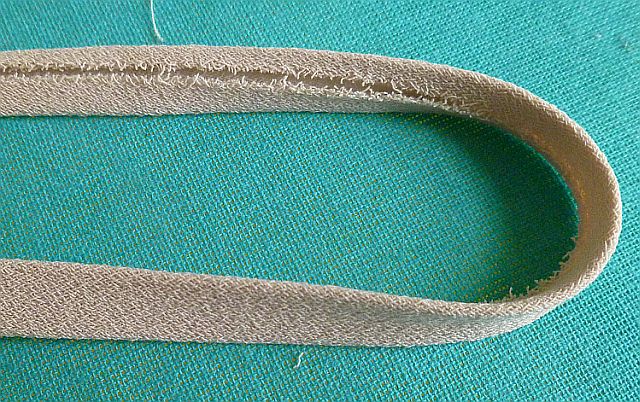
The Finished Bias Binding
For details of sewing and dressmaking classes offered by Crafts Bee click here.

